Nanette's Blog:
A little Bit of this
and a lot of that
  • Blog
  • About Me
  • Contact
  • Untitled

Get Ready Folks!!  Rosey Hearts  Challenge Goes Live in 2 Days!!

3/14/2015

3 Comments

 
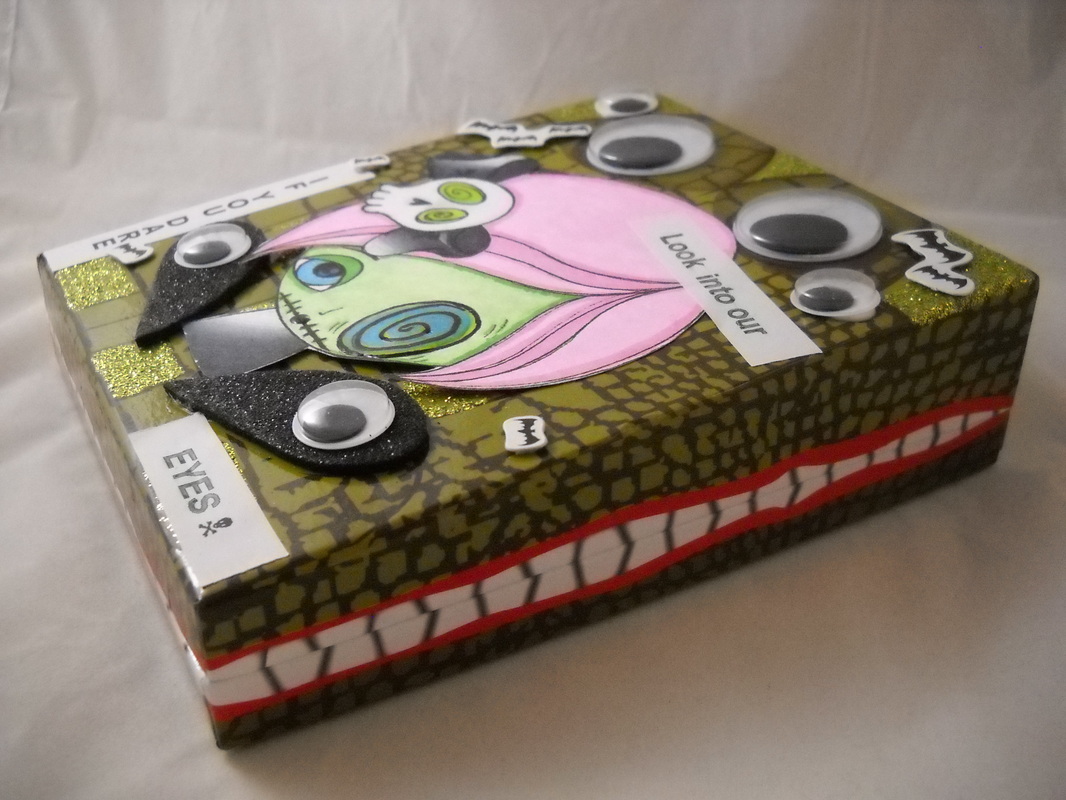
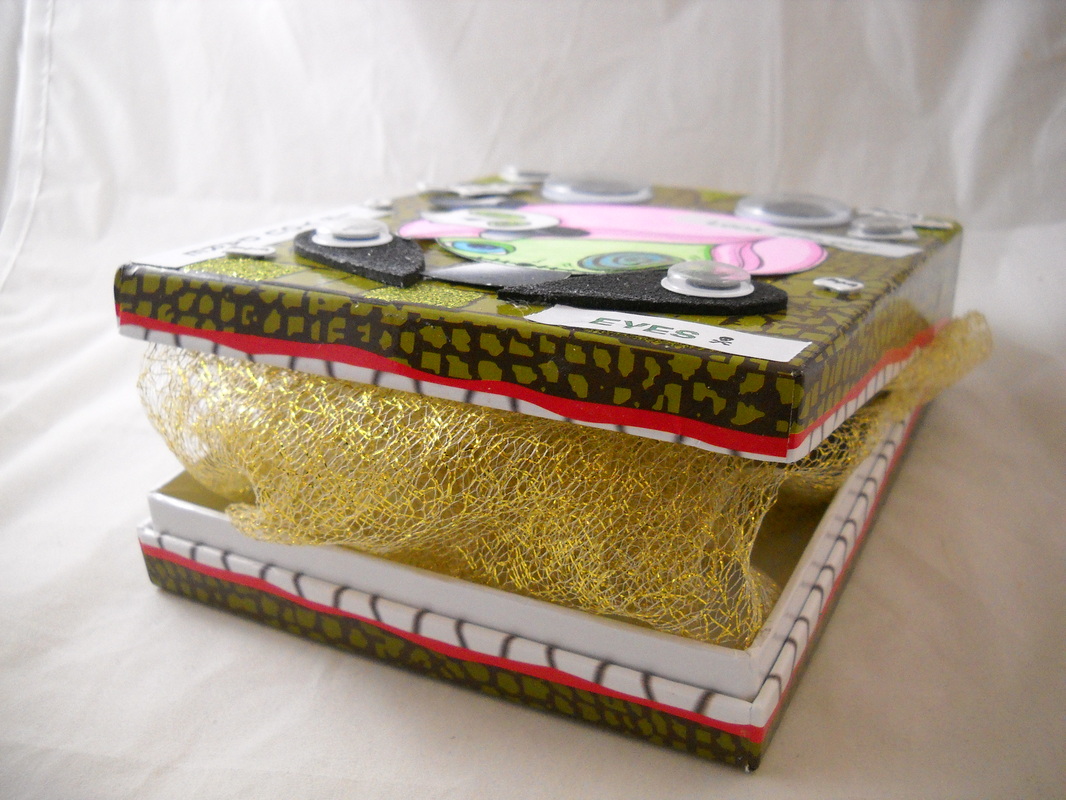
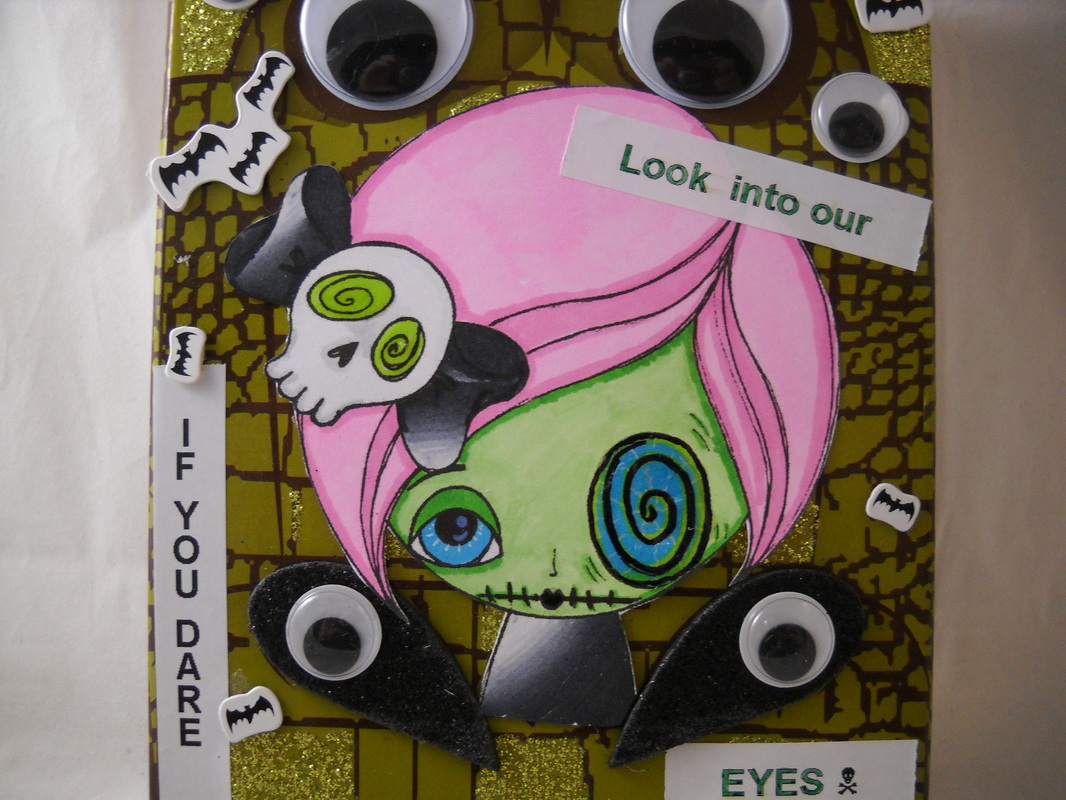
I am beyond excited about my new news!!  Rosey Hearts has given me the honor of being on the design team!  Melissa's images are so wonderful and the design team is soooo talented I am almost about to burst with joy!  Our first challenge goes live in 2 days and you won't want to miss it!  Team A is going to inspire you as they have me and the theme..no, I can't tell you yet! sorry! but it is soooo fun!  So get your markers ready and be ready to go to the shop and pick up an image and join in the fun!  So much excitement going on!  Thank you so much, Sandie and Melissa, for this wonderful opportunity!  Here are the links to the store and our Facebook group where some lovely freebies are!  


Etsy shop link:
https://www.etsy.com/shop/RoseyHearts?ref=shop_


The rosey Hearts official blog http://rosey-hearts.blogspot.ca/
The Rosey Hearts FB Group https://www.facebook.com/groups/715465521904917/


3 Comments

Left of Center Challenge #68 Dilly Beans "Big Eyes"

3/8/2015

6 Comments

 
Picture
Picture
Picture
This week's challenge at Left of Center is sponsored by Dilly Beans and you can either play the Left of Center way which includes: dark, goth, steampunk, punk, etc. or follow the theme "Big Eyes".  I decided to go both ways and use my awesome Hypno Eyed Girl the Left of Center way!  The wonder of this is shopping 5 days after Valentine's Day at Walmart.  I walk in the store with my son and what do I see but 75% off all Valentine's Day items; I saw boxes that made me swoon!  Of course, my son could not comprehend why I would want to buy these odd purchases as the candy would be too old next year.....so after a not so brief conversation on the lovely boxes he relented and walked away!  Score one for MOM!  So this project was so easy to make because I knew when I saw this alligator's big eyes that this was the one for "Big Eyes"!  The background scales and texture were there.  I only had to remove some detailing on the front and my canvas as it were, was ready.  I colored Hypno Eyed Girl with Chameleon pens and some Promarkers, fussy cut her, and glued her down...perfect fit!  I added Glossy Accents to her eyes and mouth and the skull on her bow.  I also used my label maker (my son could understand why I needed that and had bought it for me) and made my sentiments.  The I got out the big bag of big google eyes and went crazy!  Some leftover Halloween stickers gave me some lovely bats to stick here and there.  I took a picture of the box with some gold fabric inside just to show the unique shape and detailing on the sides.  I go over my scheduled projects before I go shopping not for paint, glue, or embellishments but for a "canvas" for my images.  I knew I had "Big Eyes" coming up so this box that ended up costing 58 cents was perfect.  I bought another so it will be appearing at the right moment!:)  I also wanted to show how easy it is to make something from something already with a good background.  You don't have to create backgrounds, or canvases, or even a card base every single time.  Look around and you may find something that with very little work will make your image look right at home!  So go grab a box, be it cereal, candy, whatever and color your image and make your project!  We are waiting for it at Left of Center and you would love to have some Dilly Beans images!  Come play!
Happy Crafting!
6 Comments

Quoth the Raven Challenge #42 "Dream On"

3/8/2015

2 Comments

 
Welcome to Quoth the Raven's Challenge #42 "Dream On".  I had quiet a time with this one but in the end the Master's words gave me the answer.  In the poem "The Raven" the line "And his eyes have all the seeming of a demon's that is dreaming..." there is was!  I took a humble pizza box bottom and lined with some papers from the "Once Upon a Time" stack that had fairies floating in the top edge.  I used the image of Poe and the raven bust from Ike's Art with half of Poe's face being slightly zombiefied.  Perfect for a bad dream, which I think the poor man had many.  I colored the image with Chameleon pens, fussy cut, and glued to a business card folded to make a stand.  I made four little books each with a title hand written  of one of his works and placed a feather into a piece of polymer clay for a quill pen and stand.  The other corner has a spool covered with paper with a lovely skull placed on top.  The box has some nice texture features to it.  I melted a brown crayon with my heat gun and went along the corners and where the papers joined.  It splattered and ran some but I really liked the effect.  I stamped some ravens on the background and then colored them with a black crayon after heating the stamped image...the color just glides on.. a little hard to control but again a nice effect.  Red acrylic paint for eyes of course  referencing the line from the poem.  I took foil tape and ran it through my embossing folder then cut in to two pieces and after pulling the backing paper off I put on the edges of the pizza box.  Then some brown acrylic paint rubbed on the embossed foil edge with my finger.  And so my Poe dream box is made!
You have all month to enter this challenge and we want to see your vision of this theme!
Happy Crafting and Dream On/Poe!!
2 Comments

Dragons Lair Designs Guest Designer Project for March "Two or More Folds"

3/4/2015

2 Comments

 
So happy to be part of the Dragons Lair Designs Design Team!  My first project with these amazing products was born from a little box I saw made from a match box.  I did not have a match box but I did have a soap box!  So I covered the soap box (removing the end tabs on one end) with a paper from the Sarah's Collection pack of digital papers.  I then made the drawer...this took several tries...and I made it out of a striped piece of the collection.  I wanted to make this a memory box for a dear friend who left us last year due to breast cancer.  As always I take this time to urge you to check yourself to protect yourself and always be alert to exams and screenings you might need.  So in order to have some sections to put some items of hers I needed to make them.  I took cardboard and doubled up and glued one strip down off center in the drawer bottom.  Then a smaller one was glued to make a smaller section towards the bottom.  Before gluing down I inked with brushed corduroy the cardboard and the insides of the drawer and all edges of the top and drawer.  The challenge called for "Two or More Folds" so I wanted a little scrapbook/notebook to put some words of friendship in so I pleated a piece of paper and then scored it along the bottom to fold up and make a pocket for each page.  I inked it, edges and all,  and then folded it in and tied it with a piece of twine.  I put in a button and a gem for photo purposes.   I placed some token items inside for the purpose of this challenge but will be putting in personal ones to keep.  The top of the box was easy with the gorgeous papers from this collection.  I cut one from each of the 4 papers and vellum and distressed the edges with my scissors and inked and then adhered them staggering them.  Then I tied the bundle of papers together with a piece of twine and added a feather and key made from Mod Podge Melts.  I glued a glass bauble around an awareness ribbon with love printed on it and glued to the corner.  Then I glued the bundle on top of the match box and it was time to use one of my favorite images from the Dragons Lair Designs shop "Wings"!  I colored with Chameleon pens and fussy cut 2 copies and layered them and attached to the top.  I stamped my friend's name on a piece of the match box paper and layered on to vellum again distressing and inking and adhered to the top corner.  These papers were so inspiring in making this project!  Our challenge runs for the month and the theme is "Two or More Folds" and you can follow the links below to find us!
Happy Crafting!


Picture
 http://dragonslairdesigns.com/shop/  Dragons Lair Designs Store

 http://stampingwithdragon.blogspot.ie/  Dragons Lair Designs Challenge Blog

 https://www.facebook.com/groups/636646656454888/   Dragons Lair Designs Fan Group

 https://www.facebook.com/pages/Dragons-Lair-Designs/443643142441261    Dragons Lair Designs Page

 http://www.craftsuprint.com/janette-padley/  Janette Padley’s Creations on  craftsUprint

Entered:
http://scrappers-delights-challenge-blog.blogspot.co.uk/  Scrapper's Delights Challenge Anything Goes #42

2 Comments

My Very First Design Team Project for Rhedd's Creative Spirit

3/2/2015

6 Comments

 
Picture
Hi, I am so excited to be making this post for Rhedd's Creative Spirit Challenge Blog.  We are an altered art group.  My first jump into the water was the kiddie pool I must admit!  I chose to alter a birdhouse that has been sitting around unpainted crying for attention.  I loved the shape of it and just never did anything with it.  So I had a pack of DP of wood grains given to me by my lovely parents and the process began!  I painted the piece with a pink acrylic wash.  Then I glued pink wood grain paper on the sides and back.  For the roof and floor of the porch I used a white birch piece of paper from the stack.  I painted the porch columns and railing as well as the edges with white also the top which has a little knob and I painted that pink.  Then to the fun part!  I made a rag rug from lace scraps for the front door/bird entrance.  I used polymer clay to make a nice yummy summer fruit platter containing watermelon, grapes, an apple with a bite out of it (someone couldn't wait!) , orange, and sliced lemon.  I glued this to the porch railing for any guests who visit.  Of course what porch doesn't have a plant hanger so to the wire bucket to construct a wire hanging basket filled with moss and a lovely purple flower.  At the time I had just completed a light catcher out of an aluminum can (spoiler alert..one of these will make an appearance) so I decided to make a mini me of it.  Attaching it was harder than I anticipated and I didn't get the swinging motion I wanted but overall I like it.  I dry brushed some white acrylic paint on the decorative carving at the top and from the paper stack added the "sign" Fly.  For the top I added a very light green ribbon with some dark green ribbon for a bow and a large pink flower from my stash as well as two smaller flowers around the knob.  And I feared my feathered friends might not be prepared for colder times so I added a wood stack to the side of the building.  This was done by fussy cutting some individual wood pieces from a piece of the paper stack and gluing trying to give some dimension to it. And to ward off any hunger I added some milk and honey containers I had made from dowels and a jar of gum drops by the fruit.   It was then ready for the birdies to move in .....however, it got added to the collection on top of my book cases!  I know, selfish of me!!  Thanks for reading and thanks to the RCS team and Sandie for including me in on the fun!  


Our challenges run monthly and the link is:
http://rheddscreativespirit.blogspot.co.uk/   Rhedd's Creative Spirit


Happy Crafting!
6 Comments
    Picture
    Picture
    Picture
    Picture
    Picture
    Picture
    Picture
    Picture
    Picture
    Click to set custom HTML
    Picture
    Picture
    Click to set

    custom HTML
    Picture
    SNS Challenge Blog
    href="http://doodleartifacts.bl
    Simon Says Stamp Wednesday Challenge Blog

    Picture
    Aurora Wings Challenge Blog

    Archives

    March 2015
    February 2015
    January 2015
    December 2014
    November 2014
    October 2014
    September 2014
    August 2014

    Picture
    My precious grandpuppy, Yoshi! He went through gastrointestinal surgery for an obstruction in August and almost didn't make it. It is now November and he is doing so well just can't eat hard food:( But I love mushing his food twice a day and feeding my beautiful baby boy:)

    RSS Feed

    Picture
    Yoshi's Nana all dressed up for Mama and Daddy's 56th wedding anniversary!

    Categories

    All
    31 Days Of Halloween Challenge
    Art Challenges
    Cancer Info
    Crafts
    Etsy
    Halloween Countdown
    Polymer Clay Tutorial
    Rubber Stamping
    Skull Project
    Tutorials
    Vintage Books


Powered by Create your own unique website with customizable templates.