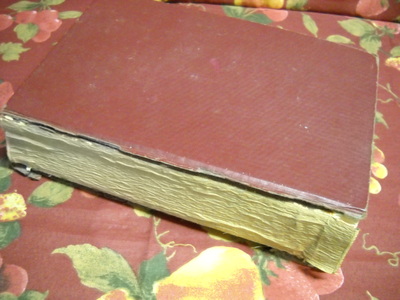
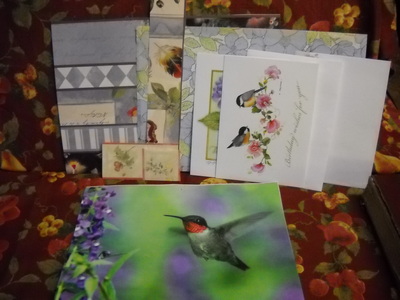
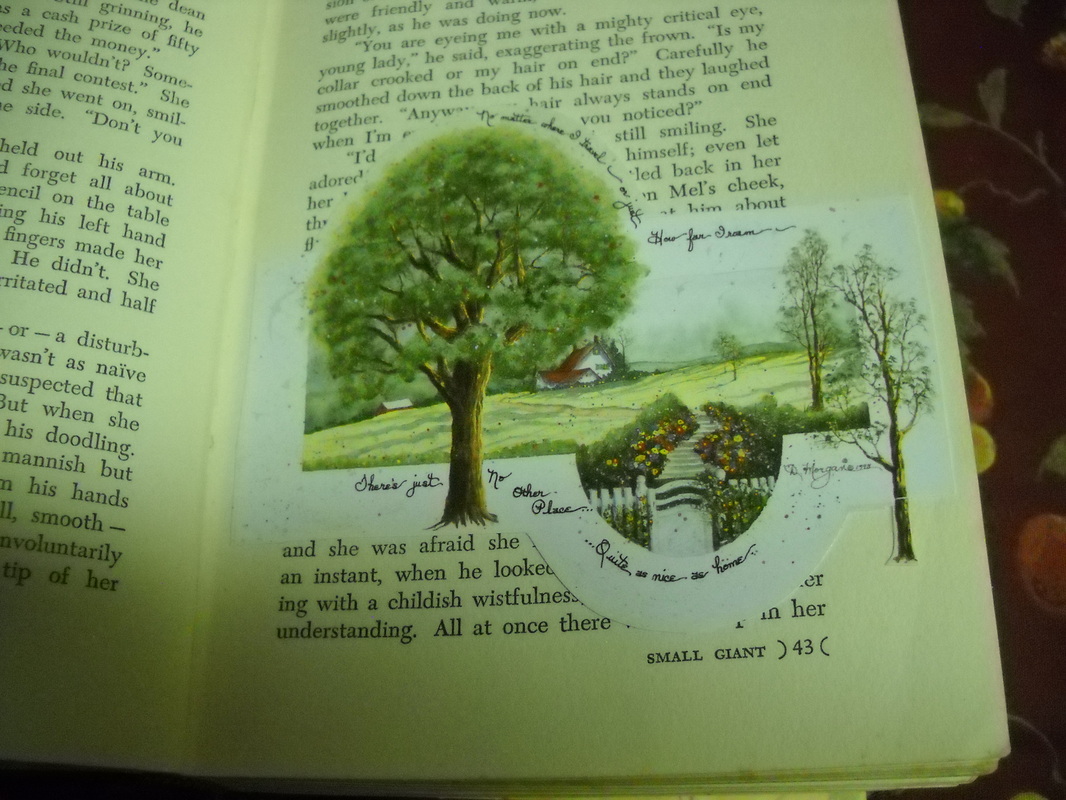
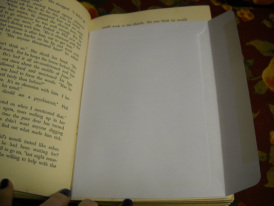
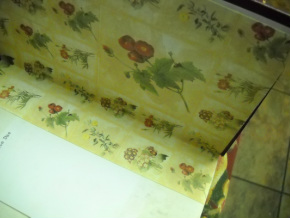
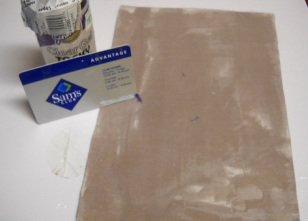
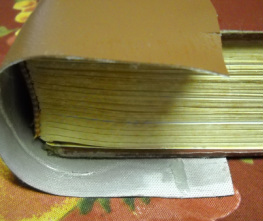
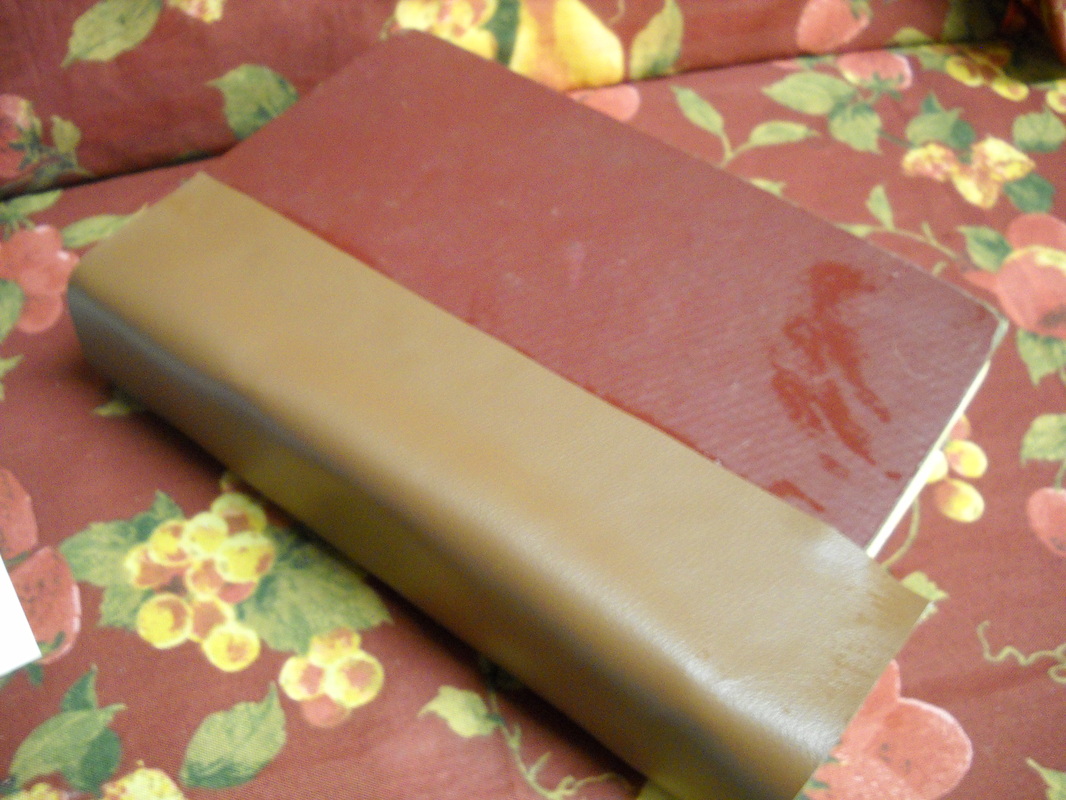
| I am typing this at 5 am.....gosh, so quiet in here! But I started a project last night at the last minute and decided to do my first tutorial on it. As you know, I have gotten all these great old books from the awesomest (made up word with no correct spelling I think!) book store ever. I adopted one Friday with the spine cover missing; I knew it needed some love and care. So taking an idea from a treasured item my son has that he was showing me Saturday night, I got the idea to make a scrapbook out of the poor, little book. I also found out a wonderful person, who works for my vet and helped me through my heart, Yoshi's, illness plus prayed for mom's surgery and her healing, that her father passed away last week after a brief illness. I don't know the details but I think it was cancer and very quick. So I have been racking my brain for something to do for her. I am not a flower person since Dave's funeral; they make me sad (the cut in a vase or arrangement kind not the growing kind), and I decided to take my book scrapbook and fill it with places to put little items of remembrance for her father in it. I am not going to call it a memorial scrapbook, just give it to her as a gift from the heart because my heart breaks for her. She is so much younger than me with small children and now her dad is gone and her kids have no grandpa. After these past 7 months, I truly realize what a blessed life I live having my parents with me and my children. So the tutorial will start...a lot of it is finished but I saved some for the tutorial and how to I am going to cover the spine. First find the paper, cards, any images you want to make your pockets. I used cards and envelopes sent to my son because he sponsors a child and he gets 3 to 4 charities asking for money everyday and obviously can't support them all. So instead of adding to the landfill, I recycled them. I had mixed feelings knowing they sent them for money but they weren't requested and again, why fill up the landfill with something I can use. So morally I don't know if it was right, environmentally it was right. Long first step story...sorry. Anyway gather those papers up, you can even use junk mail or ad mail if the pictures fit. Also, calendars are a great resource. Oh, and you need a book. It doesn't have to be old; it can be one your kids had in school or a hard cover you read and don't collect the series. In this case I used this poor, little darling. Now comes the easy part. Start cutting out your images or paper anyway you like. Be creative!! There are no rules in this game! I fussy cut alot of my things, meaning I cut around them carefully like here. Then glue em' down on random pages. For pockets just glue the sides and bottom leaving the top of the paper open so you can slide photos, papers, etc. inside them. However, you can just make straight cuts for the whole book if you would like. Then pick some envelopes out and apply glue to the back and keep flap open (no glue) and stick to a page. This is a perfect place to put ticket stubs from movies, shows, wrestling ( we are going Tuesday night...my first time...shaky hands!), photos, small items like jewelry, medals, stuff like that. My little treasure had spine issues and the back spine was coming loose, so I cut a piece of my scrapbooking paper the length of the book and about 2 inches wider than the back cover and scored the paper at 2 inches (you can just eyeball it and make a fold) then folded it and glued it generously and place it on the cover pulling the cover to the back page. This is a finished photo....sorry. The last step is to fix the spine issue on the outside. As you can see it is a very sad looking sight! I decided to use pleather...faked leather. Maybe it's called vinyl but we always call it pleather. Again measuring the length of the book and deciding how far I want it to wrap around the front and back I get my measurement for the width. Cut this out and again apply the glue heavily; if you have any Aileen's Tacky Glue in any form this would be the best to use. I am not gluing as heavy on the spine itself because this book will expand as you embellish and fill it up so I want a little wiggle room in the spine. You do need to cover it if your book is in as bad a shape as my lovely or the pages can separate and come right out. I guess I am saying don't drown the spine area in glue....you should be able to tell how much it will take to keep it together. If your book is not missing a spine or has a boring one, you can still cover it the same way just glue the pleather, fabric, even paper to the existing spine. Now you are ready to embellish your scrapbook or you may want to keep it as it is. Again, your book, your way! I am not sure how much embellishing I am going to do if any. I may use some of my new stamps from Michael's from my son and my trip to Slidell. I want to make a paper rose arrangement out of actual book pages for the front. Maybe next tutorial I can show you how I do it. I refuse to pay the prices for the very pretty ones in craft stores, so I wing it after watching many, many YouTube tutorials. You have now finished your scrapbook. The tutorial was long, but the project moves very quickly. Unlike starting a scrapbook from scratch, this way you have your pages, they are already bound, so all you do is start gluing. This is the first of many for me I know! And here it is practically finished....tada! Hope you enjoyed and I would love to see yours if you make one. So be happy and be crafty! NOTE: I could not get my pictures under each paragraph, but they are in order of the paragraphs on the side with a notation to point you to that paragraph. I refused to not post it due to that technical difficulty:) | |










 RSS Feed

